
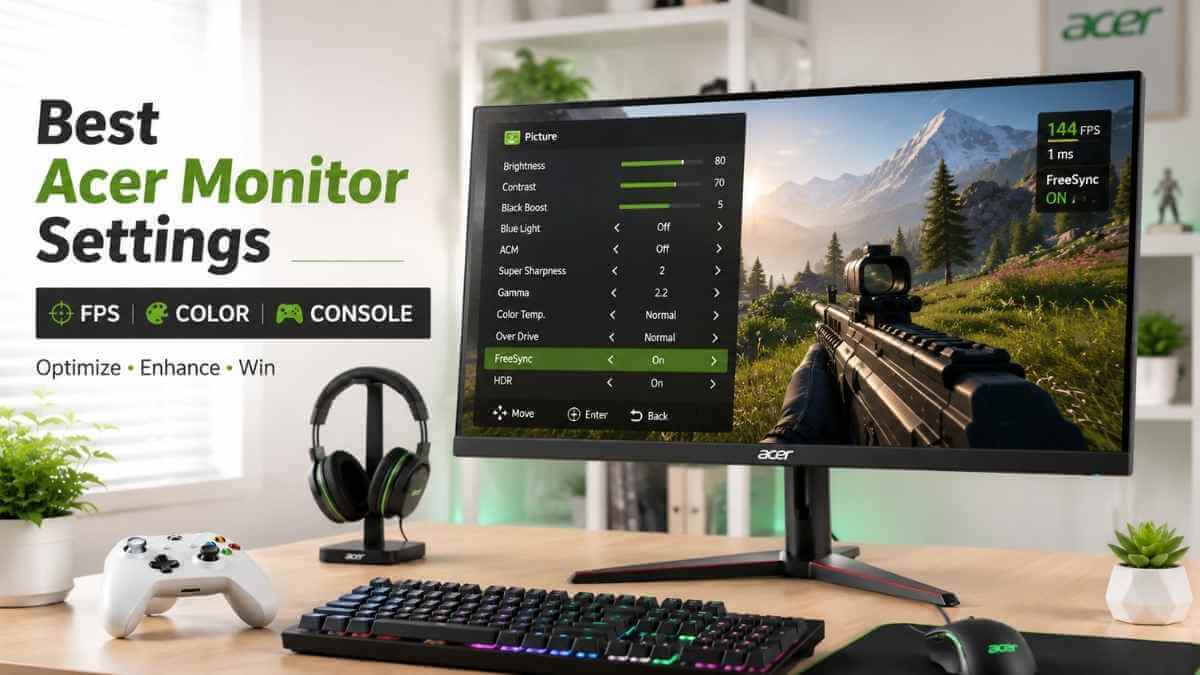

Out of the box, an Acer gaming monitor is tuned for a showroom floor, not your setup. Factory defaults usually push brightness and sharpening too hard while leaving response time (how fast a pixel changes color, measured in milliseconds) on a middle-of-the-road setting that isn’t tuned for competitive play. Left uncorrected, this shows up in-game as ghosting (a faint trailing image behind fast-moving objects), motion blur, or screen tearing (a horizontal split in the image when your GPU’s frame rate and the monitor’s refresh rate fall out of sync).
This guide walks through the OSD (On-Screen Display, the menu you open with the monitor’s joystick or buttons) settings that actually affect gaming performance on Acer Nitro, Predator, and other Acer series, and explains why each one matters.
Exact menu names and value ranges differ across Acer models and firmware versions, so treat every number below as a starting point to adjust on your specific screen, not a fixed rule.
Acer Monitor Gaming Quick Cheat Sheet
Use this as a baseline, then fine-tune based on your room lighting and the games you play most.
| Setting | Recommended Range | Why |
|---|---|---|
| Brightness | 70–80% | Depends on ambient room light; too high causes eye fatigue and washes out shadow detail |
| Contrast | 50–60% | Keeps highlight and shadow detail balanced without crushing blacks |
| Overdrive (Response Time) | Normal | Extreme often overshoots and creates its own ghosting artifact |
| Black Boost | 5–7 | Raises shadow visibility for spotting enemies without fully washing out the image |
| Gamma | 2.2 | Standard target for most SDR gaming and general use to ensure optimal shadow depth |
| FreeSync / G-Sync | Enabled | Syncs monitor refresh rate to GPU output to prevent tearing and stutter |
What Should Overdrive Be Set To for Gaming?
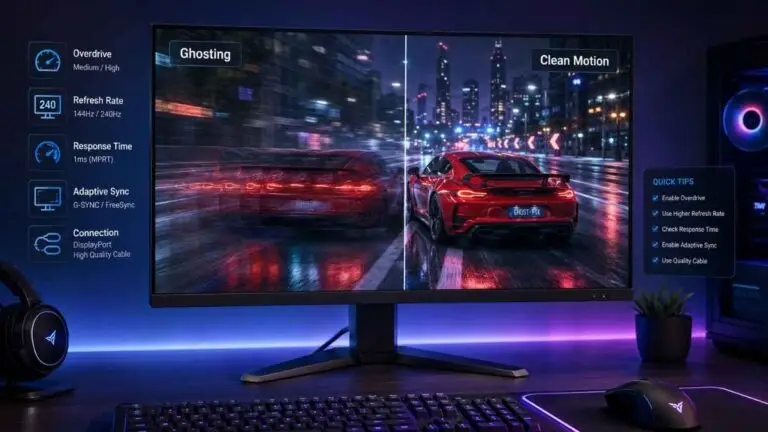
Most Acer monitors perform best for gaming with Overdrive set to Normal, not the highest available setting. Overdrive controls how aggressively the panel pushes voltage to pixels to make them change color faster, which lowers response time and reduces motion blur. Pushed too far, the panel overshoots the target color before settling back, and you get inverse ghosting, a bright or dark trailing edge (halo) around moving objects instead of a normal blur trail.
A lot of “Extreme mode is always best” advice online is copied from one specific model where it worked, then repeated as universal advice. On many Acer panels, choosing Extreme introduces visible overshoot trails, especially on fast horizontal camera pans in shooters. If you notice a faint halo or smear following bright objects like enemy nameplates or UI elements, that’s overshoot. Drop your Overdrive level back down to Normal and check if it clears up.
How Does Black Boost Help You Spot Enemies?
Black Boost lifts the brightness of dark, shadowed areas of the image without raising overall screen brightness, making it easier to see enemies hiding in shadows. On Acer monitors, the default level is usually 5 (on a scale of 0 to 10). In competitive shooters, a setting of 6–7 typically improves visibility in dark corners and building interiors. Push it too high, though, and the image looks washed out and gray, because you’re compressing the contrast range that gives the picture depth. Dropping it below 5 will crush your blacks, making dark areas completely pitch black.
For slower, story-driven or atmospheric games, keeping Black Boost at 5 (default) usually looks better, since deep shadows are often an intentional part of the scene’s mood.
How Do I Set Up Refresh Rate and Adaptive Sync Correctly?
Turning on FreeSync or G-Sync (Adaptive-Sync, a technology that matches the monitor’s refresh rate to your GPU’s frame output in real time) in the monitor’s OSD is only half the job; Windows also needs to be told to use the monitor’s maximum refresh rate. Adaptive-Sync eliminates screen tearing without the input lag penalty that traditional V-Sync adds, but only if both the monitor and the display driver are set correctly.
- Enable FreeSync (AMD GPUs) or G-Sync Compatible (NVIDIA GPUs) in the monitor’s OSD menu.
- On Windows, go to Settings → System → Display → Advanced Display, select your Acer monitor, and set the refresh rate to its maximum supported value (144Hz, 165Hz, 240Hz, or 360Hz depending on the model).
- In your GPU control panel (NVIDIA Control Panel or AMD Software), confirm Adaptive-Sync/G-Sync is toggled on for that display.
- In-game, disable traditional V-Sync if Adaptive-Sync is already active; running both together can add input lag.
If the monitor still reports 60Hz after this, the cable is almost always the cause; see the cable section below.
What’s the Difference Between Overdrive and Motion Blur Reduction (ELMB/ULMB)?
Overdrive changes how fast individual pixels transition between colors, while motion blur reduction modes like VRB (Visual Response Boost), Acer’s proprietary backlight strobing feature on Nitro and select Predator models, briefly turn the backlight off between frames to reduce the “smear” your eyes perceive from moving objects.
They solve a similar problem, blur during fast motion, through different means, and on most Acer models, you cannot run VRB and Adaptive-Sync at the same time. VRB tends to reduce peak brightness noticeably, so it suits well-lit, fast-paced competitive games more than dim, cinematic ones. If your model doesn’t list VRB or Aim Stabilizer, your specific panel line may not include backlight strobing.
Game-Specific Settings Profiles
Not every game needs the same priorities: a competitive shooter rewards visibility and speed, while a story-driven title benefits more from color depth and immersion. Below are two starting profiles for those extremes, followed by a look at whether Acer’s built-in presets can get you there faster.
Should You Use Acer’s Built-In Game Modes?
If you don’t want to tweak numbers manually every time you switch games, Acer includes pre-configured display profiles directly inside the OSD under the “Game Mode” or “Modes” hotkey. Clicking this lets you quickly toggle between three primary visual modes:
Action Mode: Pumps up the Contrast and sharpens edge detection. This is tuned to make dark objects and enemy outlines pop in fast-paced first-person shooters.
Racing Mode: Typically shifts color balance toward cooler tones and pushes contrast slightly higher to help road edges and fast-moving vehicles stand out. Some models also nudge Overdrive up a step, so check your OSD to confirm it isn’t pushing all the way to Extreme, which can reintroduce the overshoot issues covered above.
Sports Mode: Generally boosts brightness and color vibrance to make fast motion on grass, court, or ice surfaces easier to follow. Exact channel and brightness behavior varies by panel and firmware, so treat this as a starting point rather than a fixed formula.
The Verdict: While these instant profiles are convenient for casual gaming sessions, they often over-sharpen the image or shift native color balance in ways that aren’t ideal for competitive play. For a cleaner, more predictable visual presentation, we still recommend starting from the custom manual configurations listed below and adjusting from there rather than relying on the presets as-is.
Esports / Competitive Mode (Valorant, CS2, Apex Legends)
The goal here is low latency and maximum enemy visibility, not color accuracy. A reasonable starting profile: Overdrive on Fast, Black Boost around 6, Brightness near 80%, and HDR off. HDR (High Dynamic Range, a wider brightness and color range standard) typically adds processing overhead and inconsistent results in competitive titles that aren’t properly HDR-calibrated, so most competitive players get more consistent visibility with it disabled.
Immersive / AAA Cinematic Mode (Cyberpunk 2077, The Witcher 3)
For single-player, story-driven games, prioritize color depth over raw reaction speed: Overdrive on Normal, Color Temperature set to Warm, HDR on, Brightness around 75%. Color temperature controls how warm (orange-tinted) or cool (blue-tinted) whites appear; Warm generally looks more natural for skin tones and outdoor lighting in cinematic titles. Since these games rarely depend on split-second reaction time, keeping overdrive on Normal avoids overshoot artifacts completely.
Model-Specific Recommended Settings
These are practical starting points; always double-check against your model’s actual OSD menu, since labels and ranges vary by panel and firmware.
| Model | Overdrive | Black Boost | Adaptive-Sync | Notes |
|---|---|---|---|---|
| Acer Nitro VG240Y / XV272U | Normal | 5 | FreeSync Premium | Budget/mid-range IPS panels: Extreme overdrive causes immediate inverse ghosting here. |
| Acer Predator XB273U | Normal | 6 | G-Sync Compatible | A higher refresh rate panel handles Fast overdrive with less overshoot than budget models |
| Acer Predator X25 | Normal | 5 | G-Sync (native module, on applicable models) | Premium high-refresh models featuring a dedicated G-Sync module for ultra-low latency. |
Visual Guide: How to Navigate the Acer OSD Menu
Before diving into the numbers, you need to know how to actually get to these settings. Look at the back of your Acer monitor on the bottom-right corner. You will find a physical joystick along with three or four buttons.
Here is how to navigate it step-by-step:
- Open the Menu: Press down on the physical joystick to pull up the quick settings overlay, then press it again to open the full OSD Main Menu.
- Navigate: Move the joystick Up, Down, Left, or Right to scroll through different system tabs like Picture, Color, Gaming, and System.
- Select and Adjust: Press in on the joystick to select a specific setting (like Brightness or Overdrive), tilt it to change the value, and press it again to lock in your choice.
- Exit: Use the hardware button directly above or below the joystick to go back to the previous screen or close the overlay completely.
“Note: The video walkthrough above serves as a quick visual reference for the Acer OSD menu structure. Since it features a silent interface, you can simply watch the screen animations alongside our step-by-step text guide below to match your settings perfectly.”
PC and GPU Control Panel Settings You Shouldn’t Skip
Monitor-side settings only cover half the picture; your GPU’s output settings affect what actually reaches the screen. In your NVIDIA or AMD control panel, confirm the Output Dynamic Range is set to Full (0–255) rather than Limited; Limited range compresses your black and white levels, making the image look flat and gray even on the most premium panel.
To lock this in on an NVIDIA GPU, right-click your desktop, open the NVIDIA Control Panel, and navigate to Change Resolution. Scroll down to the color settings, toggle “Use NVIDIA Color Settings,” and ensure the Output Dynamic Range dropdown is set to Full.
For AMD GPU users, open AMD Software: Adrenalin Edition, go to Gaming > Display, find your active monitor profile, and switch the Pixel Format to RGB 4:4:4 Pixel Format PC Standard (Full RGB). Leaving this on “Limited” or a YCbCr format skips sub-pixel rendering accuracy, closing your eyes to minor environmental contrast cues in dim gaming maps.
Cable Selection: DisplayPort vs. HDMI
Your underlying hardware configuration dictates your monitor’s structural refresh limit. If your brand-new Acer Nitro or Predator is hardware-capped at 60Hz in Windows, the default shipping cable or a mismatch in ports is the primary roadblock.
- DisplayPort (DP): This remains the native gold standard for PC gaming. To experience zero bandwidth caps at high refresh configurations (like 1440p at 240Hz or 1080p at 360Hz) along with active G-Sync compatibility, always prioritize a direct DisplayPort connection from your graphics card to the screen.
- HDMI: If you are playing on modern home consoles like a PlayStation 5 or Xbox Series X/S, you must verify that your Acer monitor supports HDMI 2.0 or HDMI 2.1 to tap into high-frame-rate features. Standard legacy HDMI 1.4 cables will artificially lock your setup to 60Hz, making it impossible to utilize the hardware potential you paid for.
By taking five minutes to align your monitor’s internal OSD parameters with your graphics card’s driver configurations, you remove input bottlenecks, bypass inverse ghosting trails, and secure a fluid visual baseline built to win competitive frames.
Conclusion
None of these settings are fixed rules; they’re a tested starting point to adjust against your specific Acer model, room lighting, and the games you actually play. Start from the cheat sheet, watch for overshoot or washed-out shadows as your warning signs, and adjust one setting at a time so you know what actually changed.
If you’re finding your current Acer panel simply can’t deliver the motion clarity you want no matter how you tune it, the limitation may be the hardware itself. Our gaming monitor buying guide can help you figure out what to upgrade to.
FAQ About Best Acer Monitor Settings for Gaming
Why is my Acer monitor locked at 60Hz?
This is almost always a cable, port, or Windows display setting issue rather than a monitor defect. Confirm you’re using a DisplayPort cable (or a high-bandwidth HDMI cable rated for your refresh rate), then check that Windows Display Settings has the correct refresh rate selected rather than defaulting to 60Hz.
Should I turn on HDR on my Acer gaming monitor?
It depends on the monitor’s actual HDR capability and the game. On monitors without strong local dimming or high peak brightness, HDR can look worse than a well-calibrated SDR (Standard Dynamic Range) image, so it’s worth toggling it on and off in a specific game to compare rather than assuming it’s always an upgrade.
How do I fix ghosting on an Acer Nitro monitor?
Start by lowering the Overdrive setting one step at a time. Ghosting and inverse ghosting (overshoot trails) are often caused by Overdrive being set too aggressively rather than too weakly. If lowering Overdrive doesn’t help, check that Adaptive-Sync is properly enabled on both the monitor and GPU side, since sync mismatches can also produce trailing artifacts.
Do I need to change these settings for every game, or can I set them once?
You can run a single balanced profile for general use, but competitive and cinematic games genuinely benefit from different priorities: visibility and speed versus color depth and immersion. If your model supports saving multiple OSD profiles, it’s worth setting up an Esports and a Cinematic profile once rather than manually re-adjusting each time.



Leave a Reply